
Main Courses
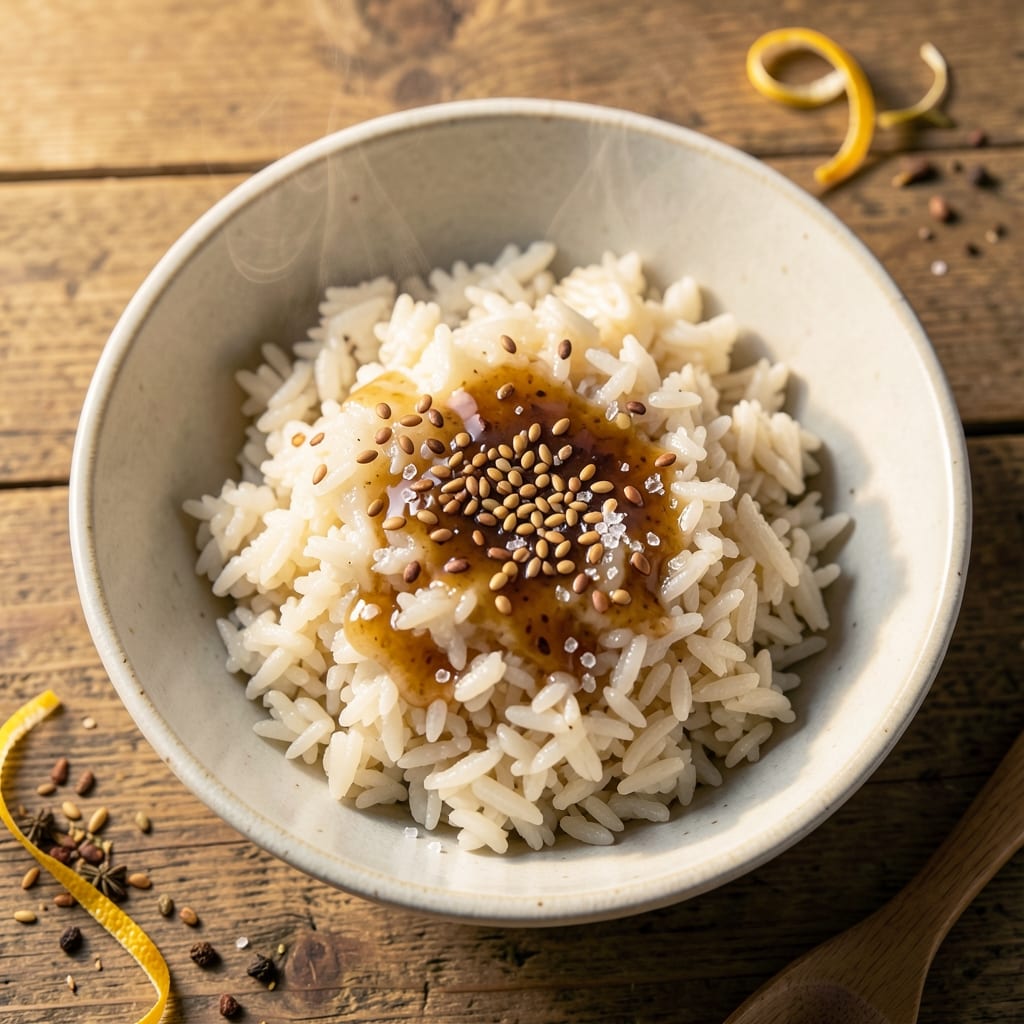
This 3 cups sushi rice recipe delivers the sticky, fluffy grains you need for perfect sushi rolls—every time. The secret lies in precise rice-to-water ratios and a balanced vinegar seasoning that creates that signature glossy finish. I've refined this method over years of making homemade sushi, ensuring each grain stays distinct yet cohesive, with just the right chewiness for rolling.
The process begins with rinsing short-grain Japanese rice until the water runs clear, removing excess starch that causes mushiness. Cooking requires a 1:1.1 rice-to-water ratio, followed by a 10-minute steam after turning off the heat—this transforms ordinary rice into sushi-grade perfection. The vinegar seasoning (rice vinegar, sugar, salt) adds tangy brightness while maintaining the rice's natural texture.
What you'll achieve is perfectly seasoned sushi rice with glossy grains that hold their shape when rolled, yet remain tender enough to eat. The subtle sweetness from sugar balances the vinegar's acidity, creating a foundation that elevates any sushi dish. Whether you're making maki rolls, nigiri, or bento boxes, this rice delivers restaurant-quality results at home.
For extra flair, sprinkle furikake or toasted sesame seeds before serving. Pair with fresh fish, avocado, or pickled vegetables for a complete sushi experience. Let's get started on mastering this essential technique—your homemade sushi just got an upgrade.
Ingredients for 3 cups sushi rice
Nine ingredients transform into perfectly sticky, glossy sushi rice every time—no shortcuts needed.
| Ingredient | Amount | Notes |
|---|---|---|
| Short-Grain Japanese Rice 🍚 | 3 cups | Uncooked, sushi-specific variety |
| Water 💧 | 3.3 cups | Room temperature preferred |
| Rice Vinegar 🍶 | ¼ cup | Seasoned preferred for flavor |
| Granulated Sugar 🍚 | 2 tbsp | White or raw preferred |
| Kosher Salt 🧂 | 1 ½ tsp | Fine grain preferred |
| Sesame Seeds 🌾 | 1 tbsp | Toasted for garnish |
| Nori Sheets 🍣 | 4 whole | For rolling (optional) |
| Fresh Wasabi 🌱 | 1 tsp | Grated for serving |
| Pickled Ginger 🍋 | 2 slices | For serving |
Start with short-grain Japanese rice—the kind labeled for sushi. Mitsukan or Koshihikari are my go-tos, but any sushi-specific brand works. Avoid long-grain rice (like basmati or jasmine)—it lacks the necessary stickiness. The rice-to-water ratio is critical: 3 cups rice to 3.3 cups water gives that signature chewiness without mushiness. For vinegar, seasoned rice vinegar adds subtle sweetness, but plain works if that's all you've got. Trader Joe's has great options, but even the basic grocery store brand delivers. The sugar and salt in the seasoning should be fine grain—Diamond Crystal kosher salt is ideal if you're picky, but table salt in a pinch won't ruin it.
No rice vinegar? Apple cider vinegar plus 1 tsp sugar mimics the tangy-sweet balance. Short on sugar? Honey or maple syrup at half the amount works too. The sesame seeds can be white or black—your call. For the nori sheets, any brand is fine, but Marukyu is the gold standard if you're investing. Fresh wasabi? Tubed works if you're not making sushi daily, but the real stuff has way more punch. Pickled ginger? Store-bought is perfect—no need to make it from scratch unless you're feeling ambitious. The key is keeping everything balanced: the vinegar brightens, the sugar rounds it out, and the salt ties it all together.
Rice keeps best in an airtight container for 3-4 days in the fridge—though it's best eaten fresh. For longer storage, freeze portions for up to 3 months, but it'll lose some texture. The vinegar seasoning can be made ahead and stored in the fridge for 1 week. Toast your sesame seeds in a dry pan for 1-2 minutes right before serving—they'll be crunchy and aromatic. If you're prepping for a sushi night, cook the rice and store it at room temp (covered) for up to 2 hours before seasoning—it reheats beautifully. Just give it a quick stir with the seasoning before serving.
Why You'll Love This Recipe
- I swear by this 1: 1 rice-to-water ratio—no guesswork, no sticky mess. Just rinse the short-grain rice until the water runs clear (yes, it’s worth the extra 2 minutes), then let the rice cooker do its thing. Honestly, the only thing I’m measuring is the vinegar mix, and even that’s just 2 tablespoons per cup of cooked rice.
- No-Fuss Ratio: I swear by this 1:1.1 rice-to-water ratio—no guesswork, no sticky mess. Just rinse the short-grain rice until the water runs clear (yes, it’s worth the extra 2 minutes), then let the rice cooker do its thing. Honestly, the only thing I’m measuring is the vinegar mix, and even that’s just 2 tablespoons per cup of cooked rice.
- Bright Tang Kick: That little splash of rice vinegar—just a few tablespoons of vinegar, sugar, and salt—transforms fluffy rice into something alive. The sugar cuts the acidity while the salt makes every grain pop. I’ll be real: it’s the secret weapon behind my at-home sushi that actually tastes like takeout.
- Weeknight Workhorse: This recipe keeps me sane. Use it for bento boxes, quick sushi rolls, or even as a bed for teriyaki chicken. The leftovers? Perfect for fried rice the next day. I’ve made it for date nights, kids’ lunchboxes, and lazy Sundays—it’s that versatile.
Step-by-step instructions for fluffy sushi rice
Here's how to achieve that signature sticky, glossy sushi rice every time—no shortcuts, just technique.
Rinse the Rice Until the Water Runs Clear
Place the 3 cups short-grain Japanese rice in a large bowl and add 6 cups cold water (double the rice volume). Swirl gently with your hand, then drain immediately through a fine-mesh strainer. Repeat this process 4-5 times until the water runs completely clear. This removes excess starch that would make your rice gummy.
I know it seems tedious, but this step is non-negotiable. The rice should look milky at first, then gradually become translucent. If you skip rinsing, you'll end up with clumpy, pasty rice instead of those individual, fluffy grains you want for sushi.
Cook the Rice to Perfect Doneness
Transfer the rinsed rice to a medium saucepan and add the 3.3 cups room-temperature water. Bring to a boil over high heat, then immediately reduce to low heat, cover tightly with a lid, and simmer for 15 minutes. The rice should absorb all the water and steam gently—don't peek or lift the lid during this time.
After 15 minutes, turn off the heat and let the rice steam uncovered for 10 minutes. This resting period allows the steam to redistribute, preventing a gummy texture. You'll know it's ready when the grains are tender but still hold their shape when pressed gently with a spoon.
Season with Vinegar Mixture
In a small bowl, whisk together the 0.25 cup rice vinegar, 2 tbsp granulated sugar, and 1.5 tsp kosher salt until the sugar and salt dissolve completely. This mixture is what gives sushi rice its signature tangy flavor and glossy finish.
Using a rice paddle or large spoon, gently fold the vinegar mixture into the hot rice. Work quickly but carefully—you want to distribute the seasoning evenly without crushing the grains. The rice should look slightly wet and shiny, like it's been kissed by a light mist. If it feels dry, add 1-2 teaspoons of water to loosen it.
Shape and Garnish for Serving
Transfer the rice to a rectangular wooden box (hangiri) or a large, shallow dish. Press the rice gently but firmly into an even layer, creating a smooth, flat surface. This makes it easier to cut into precise rectangles for maki rolls later.
Sprinkle the 1 tbsp toasted sesame seeds evenly over the top, pressing them lightly into the rice so they stick. The nori sheets, fresh wasabi, and 2 slices pickled ginger can be added as garnishes when assembling your sushi—keep them separate until serving to maintain freshness.
Master the Timing for Fresh Rolls
Work quickly once the rice is seasoned—sushi rice is best when served within 30 minutes of cooking. The texture starts to firm up as it cools, so keep it covered with a damp towel if you're not using it immediately. For maki rolls, use a sharp, wet knife to cut the rice into 1-inch strips—dampening the knife prevents sticking and gives clean edges.
Here's the thing—sushi rice is all about the details. The vinegar glaze shouldn't be too sweet or sour; it should complement the rice without overpowering it. And remember, the rice should be sticky but not wet, with each grain distinct yet clinging slightly to its neighbors. That's the perfect texture for sushi.
Pro Tips For Making 3 Cups Sushi Rice
- Rinse Until Clear: Don’t just splash the rice around—hold the bundle of grains under running water while swirling it with your fingers until the water runs completely clear. I learned this the hard way after making rice that turned out gummy; the starch clings stubbornly, and you’ll need to rinse for at least 30 seconds longer than you think.
- Use a Tight Lid: After cooking, press the lid down firmly and flip it upside down for the last 10 minutes of resting. This traps steam and keeps the rice from drying out—no more sad, crusty edges. (Yes, even if you’re impatient like me.)
- Mix Vinegar Last: Let the cooked rice cool for 5 minutes before folding in the vinegar-sugar mix. Cold rice absorbs the seasoning better, and you’ll avoid that weird, soupy texture that happens when you mix it in too soon. Trust me, the first time I ignored this, my sushi tasted dull.
- Soak the Rice First: Give the rice a 30-minute soak in cold water before cooking—no extra effort, just dump it in a colander and let it sit. This evens out moisture, so every grain cooks uniformly and you won’t end up with a pot of unevenly done rice. (Your future self will thank you.)
Flavor customization for these flavors
Sweet & Tangy Balance
Adjust the sugar-to-vinegar ratio to suit your taste—start with 2 tbsp sugar for a classic balance, but reduce to 1 tbsp if you prefer less sweetness. For extra tang, increase the rice vinegar by 1 tbsp and add ½ tsp more salt to enhance the umami. I like to taste-test the seasoning mixture before folding it into the rice—it should taste like a bright, slightly sweet marinade. 🍶
Umami Boost
Add 1 tsp soy sauce or ½ tsp dashi powder to the vinegar mixture for deeper savory notes. This works especially well with fish-based sushi like salmon avocado rolls. For vegetarian versions, a pinch of mirin (about ½ tsp) adds natural sweetness and complexity without altering the texture. I keep a small bottle of Kikkoman soy sauce on hand specifically for this purpose.
Herb & Citrus Variations
Infuse the rice with fresh flavors by adding 1 tbsp finely chopped cilantro or zest of 1 lime to the seasoning. For a tropical twist, mix in ½ tsp grated ginger with the vinegar. These additions pair beautifully with summer rolls or California-style sushi. Just be sure to fold them in gently after the vinegar mixture to preserve their brightness. ✨
Smoky & Spicy Twist
For a bold flavor profile, add ½ tsp smoked paprika or ¼ tsp chili flakes to the seasoning. This works amazingly with spicy tuna rolls or vegetarian sushi filled with pickled vegetables. For extra heat, sprinkle 1 tsp furikake (Japanese seasoning blend) over the top before serving. I recommend Mae Ploy brand for its balanced spice-salt blend.
Luxury Upgrade
Elevate your sushi rice with 1 tsp white miso paste mixed into the vinegar seasoning for a rich, fermented depth. This pairs exceptionally with creamy fillings like avocado or spicy mayo. For a touch of elegance, drizzle 1 tsp yuzu kosho (citrus chili paste) over the finished rice—it adds a sophisticated heat. Trust me, this makes even simple veggie rolls taste gourmet. 💫
Nutrition facts
Frequently asked questions
Can I use regular long-grain rice instead of short-grain Japanese rice?
No, you should always use short-grain Japanese rice for sushi. Long-grain varieties like basmati or jasmine lack the necessary stickiness and chewiness. The short grains contain more starch, which helps them cling together perfectly for rolling. If you're in a pinch, try Calrose rice—it's a common substitute with similar properties. The texture difference is noticeable, though!
Why does my sushi rice turn out mushy or gummy?
Mushy rice usually means you didn't rinse it enough or overcooked it. Always rinse until the water runs clear (4-5 times) to remove excess starch. Also, don't peek while cooking—keep the lid on! After 15 minutes of simmering, turn off the heat and let it steam uncovered for 10 minutes. This resting period is crucial for perfect texture.
How do I keep sushi rice from drying out while I'm making rolls?
Cover the seasoned rice with a damp kitchen towel to lock in moisture. Work quickly—sushi rice is best within 30 minutes of cooking. For longer prep, keep it in an airtight container with a damp paper towel inside. The rice will firm up slightly as it cools, but a quick stir with a splash of water revives it instantly.
Can I make sushi rice ahead of time?
Yes! Cooked rice stores well in an airtight container in the fridge for 3-4 days. For longer storage, freeze portions for up to 3 months (texture may change slightly). Reheat gently with a splash of water in the microwave, then re-season with vinegar mixture. The key is to keep it covered with a damp towel to prevent drying out.
What's the best way to cut sushi rice into perfect strips for maki rolls?
Use a sharp, wet knife (dampen with water) for clean cuts. Press down firmly and pull the knife toward you in one motion. For even strips, press the rice into a rectangular shape first. A 1-inch width works perfectly for standard maki rolls. Wipe the knife between cuts to prevent sticking—this ensures professional-looking edges every time!